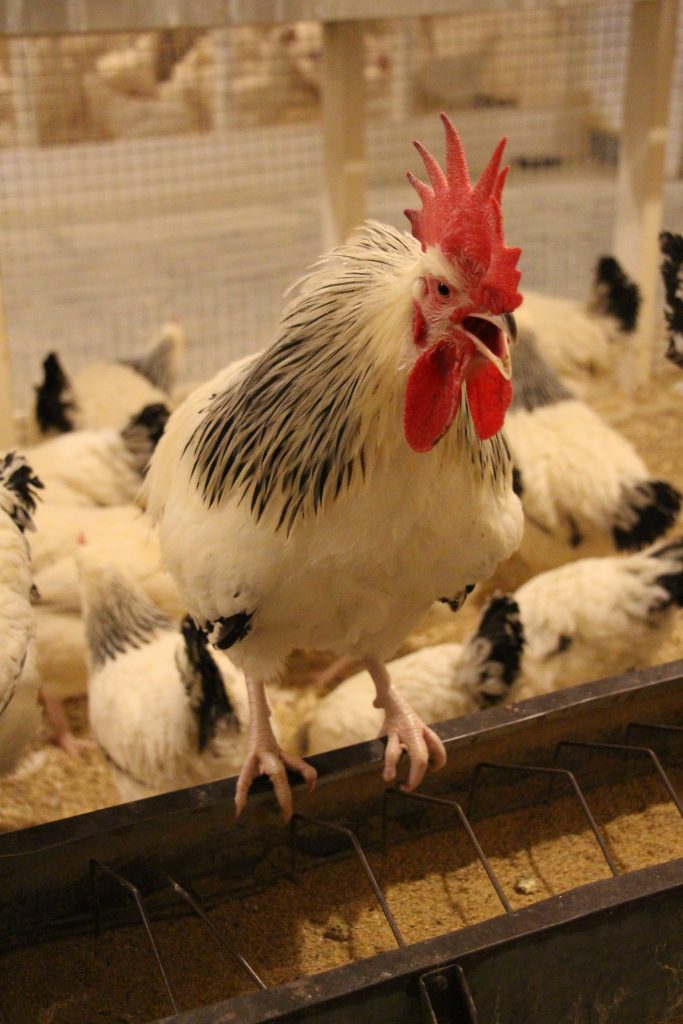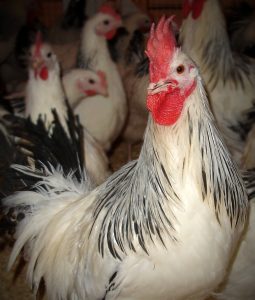
New to raising chickens? Experienced small flock farmer? Love chickens and want to learn more? Register for the U of A Heritage Chicken Program and Peavey Mart Small Flock Workshops!

What? Small Flock Workshops for backyard and small flock chicken farmers and poultry lovers
When? Monday, March 30 or Tuesday March 31, 2020
Where? U of A South Campus, ACPPTC Building, Lilydale Classroom: 6003 118 St. NW, Edmonton, AB, T6H 2V8
Time? 5:30 PM Registration and coffee, Program 6:00 – 9:00 PM
Cost? $20 per individual or family
How do I Register? Just click on the eventbrite link: https://www.eventbrite.com/e/u-of-a-heritage-chicken-program-peavey-mart-small-flock-workshops-tickets-96787354583
Learn about choosing the right breed of chicken for your small farm, building or buying a coop, chicken anatomy and egg laying, proper bio-security practices, how to recognize and treat common poultry disease and more! Our distinguished panel includes renowned poultry experts Dr. Frank Robinson, PhD, Dr. Teryn Girard, DVM and Jesse Hunter, MSc.
Come to the farm at the U of A South Campus, enjoy some snacks and treats, listen and learn from our experts and bring your questions for a Q and A session with our speakers. There is something for everyone, whether first time chick buyers, seasoned farmers or you just love chickens and want to learn more!
Register at 5:30 pm, have a look at our displays and enjoy coffee, soft beverages and snacks. The program begins at 6:00 pm and will wrap up at 9:00 pm. Choose the evening that works best for you as the programs will be the same both nights. See you there!

Learning to Grade 500 dozen Heritage Eggs
The grading process is really interesting. I have two fridges in the grading room which are filled with heritage eggs that are collected by the PRC staff. Both fridges fill up in about a week and they hold about 240 dozen eggs. So I need to come in and grade several times a week in order to keep up – if I can empty a fridge each time, I am doing well.
I take a flat of 30 eggs to the first conveyor belt. I gently press down on the eggs with a suction machine that hugs and lifts them slightly and then I place them gently on the belt and release the hold with a button. Then I do a quick check for cracks and any visible issues and discard those eggs. The belt moves slowly down and I deposit more eggs until I have four to six flats on the belt.
Next, I move to the candling station. I turn on another lever that allows the eggs to slowly roll onto a second belt and they pass above two very bright lights where I can see into the egg itself. I am looking for blood spots and problems inside the egg and also checking again for hidden cracks. If I am satisfied, they make it to the next station which is quite cool. A machine weighs the eggs and then little padded feet gently kick them down into rows and separate out the peewees.
Once I have graded enough eggs, I stop the conveyor belt and head to the rows. I have previously opened up dozens of fresh, new cartons and I place a nice variety of the eggs in the cartons and begin stacking them into crates that hold 30 dozen eggs. When that group of eggs is gone, I go back and take more trays out of the fridge, suction more on to the belt, look through the light and carton again. And on I go, for hours. Once I have filled as many crates as I have time or eggs to fill, I go through bio-security processes (more on this in another post) to safely transport them from the grading facility to the cooler in the ACPPTC facility where they patiently wait. When it is egg pickup time, I load 100 dozen into the office fridge, refilling as needed and hand out to our Heritage Chicken Project supporters!
What I have learned the hard way about grading eggs:
You do not save time by grading way more than the rows can contain before putting in cartons. There is a perfect point of row containment and then they simply leap to the concrete floor. Sigh.
Make sure the suction holder has released ALL the eggs before you fling it back up. (It is on a spring loaded line that keeps it suspended above the belt when you are not using it.) I am sure your imagination can fill in the rest.
Make sure the lever that stops the eggs from entering the candling area is COMPLETELY off before you head off to carton. Otherwise, those babies just keep coming and coming and coming…
Don’t hold more than two eggs in one hand while you continue to carton with the other. This is just simply a bad idea.
Don’t leave the keys that open the gate so you can transport the graded eggs to the ACPPTC cooler in the pocket of the coat you left at the changing facility. Sigh.
This message is a reminder about food safety with respect to our eggs. Some of the info below is common sense but we feel we should remind you about some egg handling practices. Salmonellosis is a disease caused by bacteria that can be present in raw or undercooked food. Salmonella enteritidis is a type of salmonella bacteria which can be found outside and inside the egg.
“We have neighbours knocking on our door at all hours of the day, with their kids in tow, asking if they can look at our chickens,” says Jest Sidloski, who raises backyard chickens in one of downtown Red Deer’s mature neighbourhoods.

Hard-cooked eggs may be difficult to peel if they are very fresh. This is because an egg shrinks inside during storage, which pulls the inner membrane away from the inside of the shell. For this reason, a hard-cooked egg will peel more easily if it has been stored for one or two weeks before it is cooked. After boiling the eggs, crack the shell all over by tapping gently, then hold under running water to make peeling easier. Eggs may also be harder to peel if they are not cooked long enough. Hard cooked eggs should be kept refrigerated and used within one week

Most meat spots are tiny pieces of tissue from the hen’s oviduct. They are usually brown in color, and found in the thick albumen, chalazae, or the yolk. They range in size from 0.5 mm to more than 3 mm in diameter. They are sterile and harmless. The spot can be removed with the tip of a knife, if you wish. The incidence of meat spots ranges from less than 3% to 30% or more. It varies with the strain of bird, increases with the age of bird and may be higher in brown eggs. Many meat spots are too small to be detected by candling, especially in brown eggs.

Contrary to popular belief, these tiny spots do not indicate a fertilized egg or the presence of a disease. Rather, they are caused by the rupture of a blood vessel on the yolk surface during formation of the egg or by a similar accident in the wall of the oviduct. Less than 1% of all eggs produced have blood spots. Candling methods reveal most eggs with blood spots and those eggs are removed but, even with electronic spotters, it is impossible to catch all of them in the candling process, especially in brown eggs due to the darker color shell. As an egg ages, the yolk takes up water from the albumen to dilute the blood spot so, in actuality, a blood spot indicates that the egg is fresh. Both chemically and nutritionally, these eggs are fit to eat. The spot can be removed with the tip of a knife, if you wish.


